Configure TL-WR703N with OpenWRT for Wireless printing
Recently I wanted to configure a wireless printer in a university’s dorms room, which only have wired network. In order to do this change “stealthy”, I needed to use the smallest possible router with USB connection.
TP-Link WR703N is a small router being sold in China, and is capable of OpenWRT firmware. Beware: TL-WR702N is the version being sold globally, but isn’t OpenWRT capable. WR703N specs are:
-
Atheros AR7240 CPU (400Mhz)
-
Atheros AR9331 Chipset (integrated wireless)
-
802.11 b/g/n 150Mbps
-
4 MB flash memory, 32 MB RAM
-
USB 2.0 port
-
Powered via micro-USB socket
-
Tiny form factor: 5.7cm x 5.7cm x 1.8cm

Specifications and size makes it a great solution for travels also. This router can be found in eBay at sub-$30 price range, shipped. There are some hardware versions, and you should hope to get a compatible version with OpenWRT, since the default firmware is in Chinese. Hardware version is written at the bottom of the router, and I got v1.6. Connecting to the web interface, I could see more details regarding it – FW build 130321, original FW rel. 37153n. According this model’s OpenWRT page, version is supported for AA, which is the stable version of the firmware.
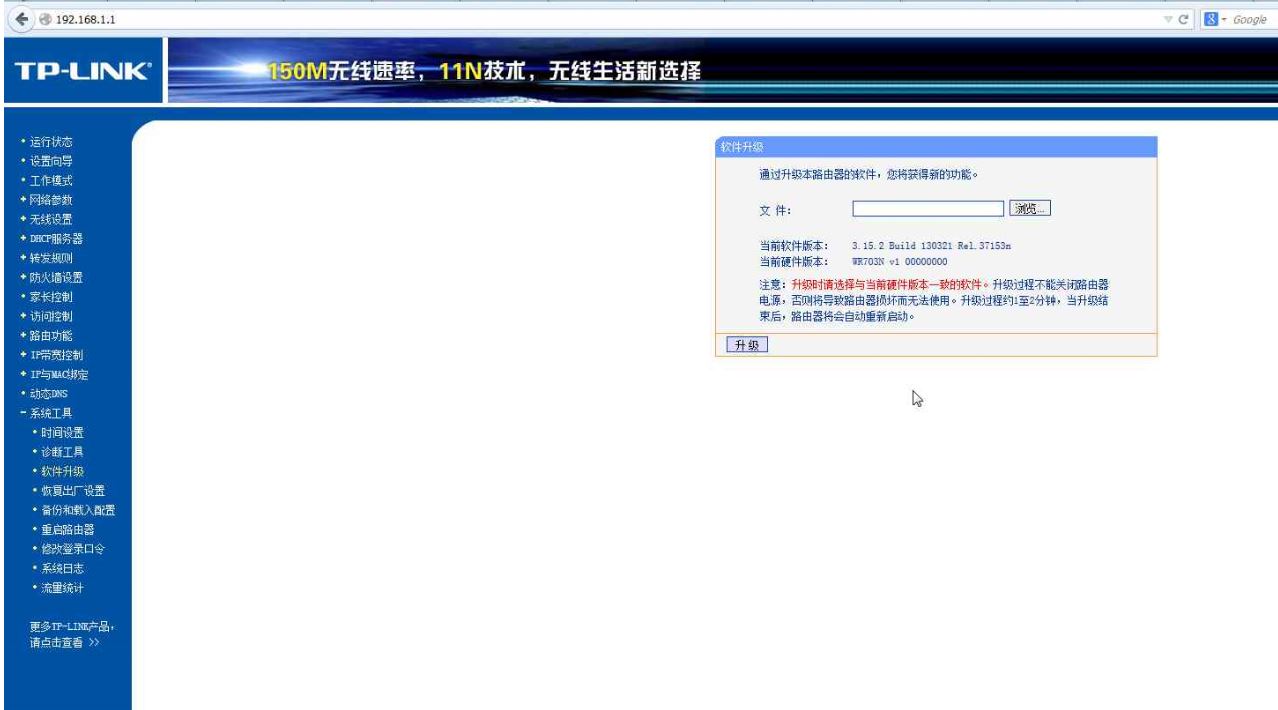
Starting the process is simple, connect to the router using Ethernet cable, go to 192.168.1.1 in your browser (username: admin, password: admin). Click on last +, and then 3rd bulletin. You should see something similar to this screen:
Download and use the firmware in this page: http://wiki.openwrt.org/toh/tp-link/tl-wr703n
Continue configure the router to match your environment needs (Static IP / DHCP / PPPoE, Wifi). There are many good guides, including:
https://stuff.purdon.ca/?page_id=370
http://wiki.xinchejian.com/wiki/Install_OpenWRT_on_TPlink_WR703N
For the printer server part, you’ll need to connect using putty (SSH client) to the router’s address, installing a lightweight USB package –
opkg update
opkg install p910nd kmod-usb-printer
If printer is already connected, you could monitor the connection status using command dmesg.
This command will direct you to the right device path, which should be either /dev/usb/lp0 or /dev/lp0. In my case it was /dev/usb/lp0. You could see it if you’ll cd to the /dev folder.
vi /etc/config/p910nd

### Enter the following configuration to file

config p910nd
option device /dev/usb/lp0
option port 0
option bidirectional 1
option enabled 1
Once file is saved, you can start the service and enable service to start at boot time:
/etc/init.d/p910nd start
/etc/init.d/p910nd enable
We’ll have to open printer ports in the firewall as well.
vi /etc/config/firewall

### Enter the following configuration to file:

# Allow printer port
config rule
        option name 'allow-printer'
        option src 'lan'
        option proto 'tcp'
        option dest_port '9100'
        option target 'ACCEPT'
and restart firewall service:
/etc/init.d/firewall restart
Enjoy your new Router / Wireless Printer server!